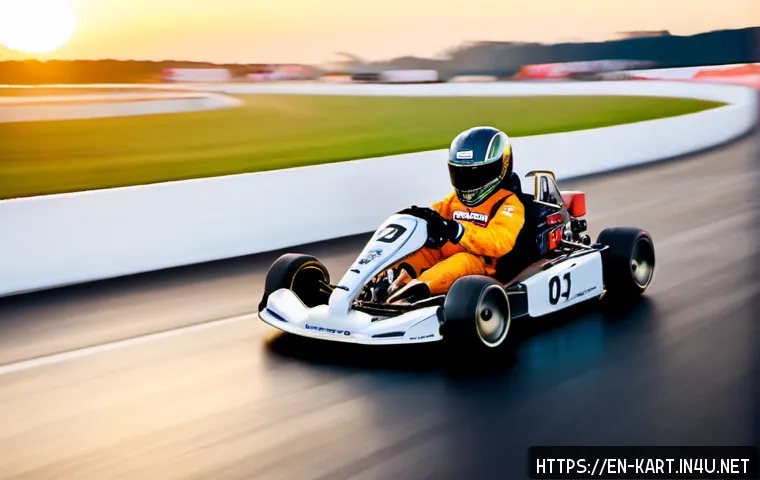
The quickest way to lower a KartRider Speed Mode time is to drive a repeatable route, protect speed on corner exits, and save boosts for places where they can fully convert into distance.
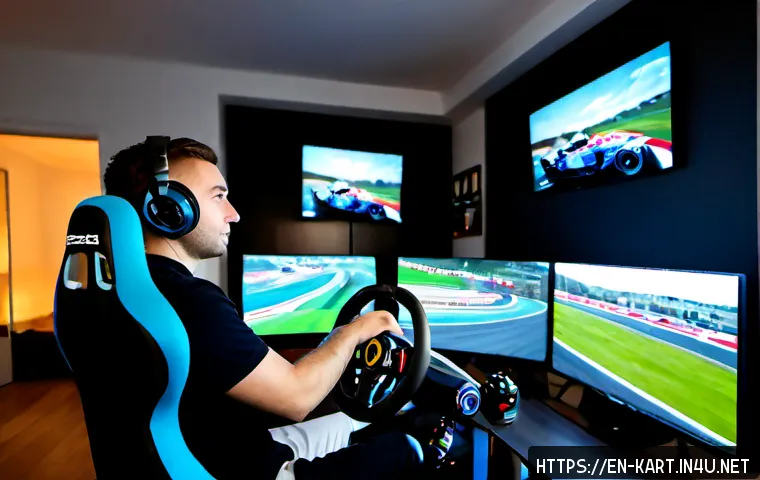
Before buying a controller, gaming keyboard, high-refresh monitor, or network equipment, build a clean baseline run and identify where time is actually being lost.
Most improvements come from cleaner lines, fewer wall contacts, and fewer unnecessary corrections—not from forcing one difficult drift trick. A controller may feel more comfortable for some players, while a keyboard may suit others who prefer direct directional inputs.
Display responsiveness and stable network conditions can also affect consistency, but they do not replace route knowledge. Because mechanics, tracks, platforms, and rules can vary by KartRider version and region, verify track-specific details in your own game mode.
Quick Overview
- Free technique fix: Learn one safe route, use clean exits, and avoid collisions before chasing shortcuts.
- Boost priority: Save boosts for long straights or strong exits, not immediately before a tight corner or braking zone.
- Optional setup upgrade: Consider a controller, gaming keyboard, monitor, or network improvement only after your route is consistent.
| Control Setup | Control Precision | Cost Range | Best Fit |
|---|---|---|---|
| Keyboard | Direct directional inputs; depends on comfort and key feel | Often the lowest-cost option if you already own one | Players who prefer quick, familiar button inputs |
| Controller | May feel smoother or more comfortable for steering and drifting | Varies by model and features | Players who want a handheld layout and longer-session comfort |
| Wheel-Style Setup | Preference-dependent; compatibility and game support should be checked | Usually a more specialized purchase | Players who enjoy racing hardware and have confirmed support |
The Fastest Way to Lower a Speed Mode Time
Prioritize route consistency, clean exits, and boost timing
A faster time attack usually starts with a simple goal: finish a run without a major mistake. Clean exits matter because every lost bit of speed after a corner can affect the next section. Choose a route you can repeat before trying the most aggressive line you have seen in a replay or video.
Why one clean run matters more than every risky shortcut
A shortcut is useful only when it works often enough to improve your average attempt. If a shortcut causes wall contact, forced braking, or an awkward recovery, it may cost more time than it saves. Treat high-risk sections as a decision: use the aggressive option only when you can enter it with the right angle, speed, and control.
Build a baseline time before changing settings or equipment
Run the same course with the same basic plan several times. Your baseline does not need to be perfect. It needs to show where the run normally breaks down. If the same corner causes trouble repeatedly, the main issue is probably route execution or drift control—not necessarily your controller or gaming monitor.
Build a Faster Route Before You Try Advanced Drifts
Identify braking points, turn-in points, apexes, and exit lines
Break each technical corner into four decisions: where you slow down, where you begin turning, where you pass closest to the inside, and where you straighten the kart for the exit. The goal is not simply to hug every inside wall. The goal is to leave the corner carrying usable speed.
Choose inside lines only when they preserve exit speed
An inside line can shorten distance, but it can also create a sharper angle. If that angle makes the kart over-rotate or sends you toward a wall, a slightly wider entry may be faster overall. Entry position should serve the exit, especially before a straight or boost opportunity.
Mark high-risk corners where a safer line produces better average times
Use a simple note after each attempt: safe, unstable, or costly. A corner is costly when one mistake creates a collision, a slow recovery, or missed boost value. For those corners, use a safer line until you can complete it consistently. Time attack improvement is easier when only one section is being pushed at a time.
Compare full-course consistency with single-lap shortcut attempts
Do not judge a route from one unusually good corner. Compare complete runs. A route that is slightly less aggressive but finishes cleanly can be the better practice route. Once it feels automatic, test one shortcut without changing the rest of the lap.
Drift, Boost, and Speed Retention Fundamentals
Use short, controlled drifts instead of over-rotating the kart
Drifting helps negotiate corners, but drifting too long or too early can reduce exit speed. Aim for a drift that turns the kart enough to meet the exit line without creating a large correction afterward. If you must steer sharply back and forth after every drift, the drift was likely too aggressive or poorly timed.
Time boosts for straights and strong corner exits
Boost management is usually more valuable when the kart has room to travel at speed. A long straight is an obvious opportunity, but a clean exit into an open section can also be effective. Plan the boost before the corner so you know whether the exit will be stable enough to use it well.
Avoid boost waste before walls, narrow turns, or forced braking zones
Using a boost immediately before a tight corner can create a faster approach but a worse result. You may need to brake, drift harder, or risk a collision. If the next section forces a major direction change, hold the boost until the kart is pointed where it can use the speed.
Practice one technical section repeatedly before attempting full runs
If a course has one difficult sequence, isolate it during practice. Test the entry line, drift length, and exit direction with a single purpose. Then return to full runs after you have a repeatable plan. This prevents one difficult corner from becoming a vague problem hidden inside an entire lap.
Fix the Mistakes That Usually Ruin a Personal Best
Late turn-in, wall contact, and over-correcting after a drift
Late turn-in often leads to a rushed drift. A rushed drift can lead to wall contact, followed by an over-correction that loses even more speed. Instead of reacting after the kart is already out of position, move your turn-in point slightly earlier on the next attempt and watch whether the exit becomes calmer.
Do not restart too early
Restarting immediately after an error feels efficient, but it can prevent learning. Finish enough of the section to see the real consequence. Did the mistake only cost a small amount of speed, or did it destroy the next boost opportunity too? A useful restart rule is to restart only after you can name the exact error and the adjustment you will test.

Do not change route, settings, and equipment all at once
Changing several variables makes results hard to interpret. Keep your route stable when testing controller sensitivity, keyboard comfort, display settings, or a new gaming controller. If the time changes, you will have a clearer idea why.
Use replay notes or split-time notes
Keep short notes such as “late entry,” “boost before narrow turn,” or “clean exit.” If your version provides replay or split-time tools, use them to compare the same section across attempts. The target is one improvement at a time, not a vague promise to drive faster.
Choose Controls and Settings That Match Your Driving Style
Keyboard versus controller: precision, comfort, and learning curve
Neither option is automatically best for every KartRider player. A gaming keyboard may suit players who like immediate button presses and already have reliable key control. A gaming controller may suit players who find its layout more comfortable during repeated drifting practice. The best choice is the one that lets you reproduce the same steering and drift inputs without hand strain or hesitation.
When a higher-refresh display or lower-latency setup may help consistency
Frame stability, input latency, and display refresh rate can affect how consistently a player responds. A higher-refresh gaming monitor may be worth considering if your current display feels unclear or delayed during fast corner entries. However, it is not a substitute for a reliable route. Test stable settings first, then decide whether a monitor upgrade addresses a real limitation.
Network stability checks for online practice and competitive play
Network conditions can affect online consistency. Before blaming your driving, check whether the issue appears only online, changes from session to session, or affects other games and devices. Use the most stable connection available to you, but remember that server conditions and regional service details can vary.
Avoid expensive upgrades when route knowledge is the main bottleneck
If you regularly hit the same wall, miss the same apex, or use boost in the same bad location, practice is likely the better first investment. Hardware becomes more relevant when your route is stable and your inputs still feel uncomfortable, inconsistent, or delayed. Buy for a confirmed need, not for the expectation of an automatic personal best.
Selection Criteria and Comparison Summary
Choose technique practice if your errors happen at the same corners, especially late turn-ins, wall contact, and unstable exits. Consider a controller or keyboard change if your steering inputs feel uncomfortable or difficult to repeat after focused practice. Consider a gaming monitor or lower-latency setup only after you have tested stable in-game settings and identified a consistency issue. Check network stability when online sessions feel less reliable than offline practice. Before each run, confirm your route, drift points, boost plan, and restart rule. If you are comparing controllers, keyboards, monitors, or network equipment, review compatibility and detailed conditions on the relevant product or official information page.
In Closing
Lower Speed Mode times come from turning a fast idea into a repeatable run. Start with the safest complete route, then improve one corner or one boost decision at a time. Clean exits and controlled drifts usually create more useful gains than constant high-risk attempts. Once your driving is consistent, you can make a more informed decision about controls or setup upgrades.
Useful Things to Know
1. A shorter route is not always faster if it damages exit speed.
2. A boost has more value when the kart can travel freely at speed.
3. Notes from failed attempts are useful only when they identify one specific cause.
4. Comfort matters because time attack improvement depends on repeating inputs over many runs.
Important Notes
KartRider track layouts, drift behavior, boost mechanics, kart balance, platform support, and competitive rules can vary by version and region. The exact fastest route and timing for a specific track should be checked in the version you play. Hardware availability, pricing, compatibility, server status, and any performance benefit also require current verification before purchase.
Frequently Asked Questions
Q1. Is a controller better than a keyboard for KartRider time attacks?
A1. Not automatically. A controller may feel more comfortable for some players, while a keyboard may provide the direct inputs another player prefers. Choose an upgrade only after your route is consistent and you can identify whether your current controls are the actual problem.
Q2. Should I buy a high-refresh gaming monitor to improve my Speed Mode times?
A2. A higher-refresh display and lower-latency setup may help consistency for some players, but they cannot replace route planning or clean drift execution. Test stable settings first and consider a monitor only if your current display seems to limit reliable responses.
Q3. Is it better to use risky shortcuts or a safer racing line in time attack?
A3. Use the line you can complete cleanly and repeatedly. A risky shortcut can be worthwhile only when it preserves speed and does not cause frequent collisions, forced braking, or recovery mistakes.
Q4. How many practice runs should I do before changing my kart, controls, or settings?
A4. Practice until you can identify a repeatable pattern rather than reacting to one bad attempt. If the same issue appears at the same point, work on that section first. Change one variable at a time so you can tell whether the adjustment actually helped.